I've been wanting to make a case for my iPad for the past year or two. I've gone through a few cases. First, I was using the
Kensington Keyboard case because I really did feel like I needed a keyboard when I first got my iPad. After about 6 months I grew weary of the weight of a keyboard case. I started using a slip case for my iPad, but I did like the structure of the keyboard case. So I was on a hunt for a new case, and I really did want to make mine. I started a
Pinterest board to help me gather the tutorials, but most of them were basic slip cases. I had made a
Kindle case based on the Chica & Jo Pattern and although I liked that - it wasn't exactly what I wanted for an iPad Case.
I found a g
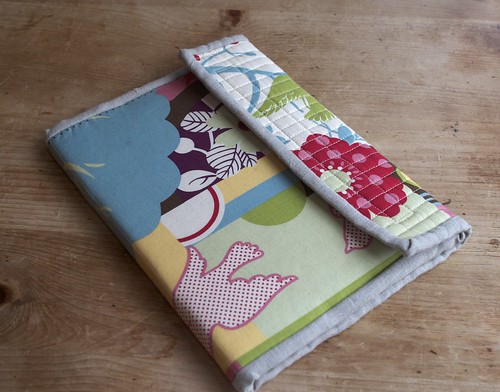
reat iPad case tutorial at Instructables, but I wasn't too keen on the separate "harness" aspect. The best thing about the Instructable case was the concept of a "rollable" cover. This would give me the right angle for typing on the iPad. I decided to incorporate some of the things I had seen in other cases such as bottom corner holders and elastic at the top. The elastic is a bit too low, I end up having to move it to use the corners of the screen. I also added a cardboard backing (from a notepad) which I wished was a bit more sturdy.
Make sure that you sew in the velcro before you add the corner pockets, otherwise you will sew them closed (did that the first time). The tutorial also recommended that you sew parallel lines to make pockets for the acrylic rods. I wish I had continued with those parallel lines instead of switching to perpendicular lines. It doesn't curve as well to close.
However, even with those mistakes I really do enjoy my case and I have
received a good many compliments on it. I recently went to a work
conference and everybody asked me about it!


Mix colors ipad case i mostly like.
ReplyDeleteiPad cases
Love this!
ReplyDelete