Supplies:
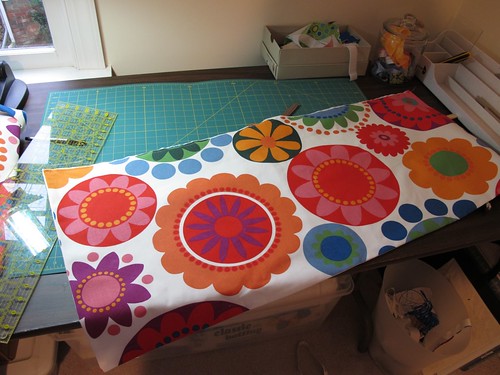
- Home Dec Fabric. I needed 2 yards
- Curtain lining (I used Roc-lon fabric which has some black-out features)
- Thread
- Wood Molding
- Staple Gun with 1/4in staples
- Sticky-back Velcro
- Hacksaw
- Squeeze clamp
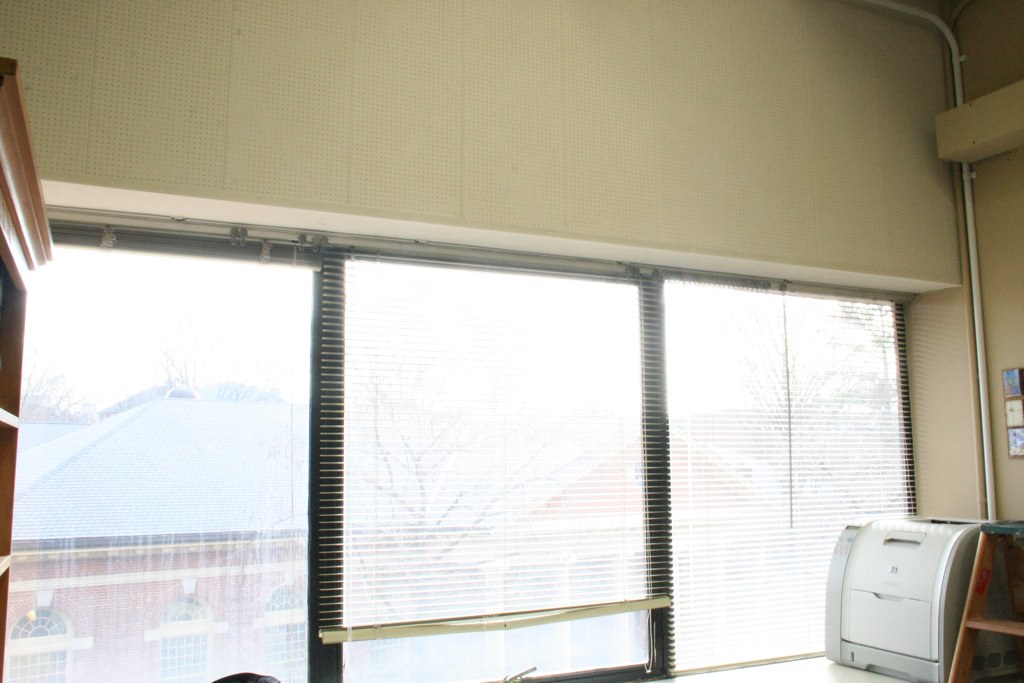
I measured the entire width of my window, but decided to make three separate panels. Each of them I back with curtain lining fabric. I like the way a lined curtain looks rather than just sewing under the ends. I'm glad I made that decision, because this fabric was fraying badly. I sewed down three sides, the bottom and sides of the valence and left the top open. I used a 1/2 in seam and clipped my corners. I did sew a basting stitch (the longest stitch setting on my machine) across the top, just to keep everything together.
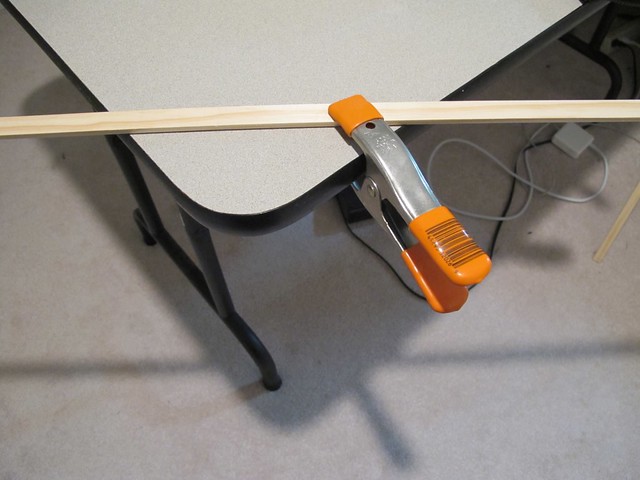
I made a makeshift work bench on the corner of my sewing table by clamping my wood molding down.
I cut my molding into three equal pieces (to match each valence), rather than having one large wood piece. This makes it easier to transport, and in the end didn't have any effect on the finished project either way. Remember to measure twice cut once! (That is the shop teacher in me :)
Then I measured from the bottom of the valence up to the desired height and placed the wood molding as a brace. I measure from the bottom so that even if something occurred in the cutting/sewing process I would have an accurate height and could wrap the excess on the back of the brace.
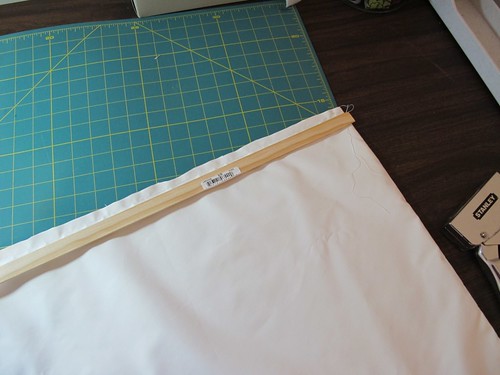
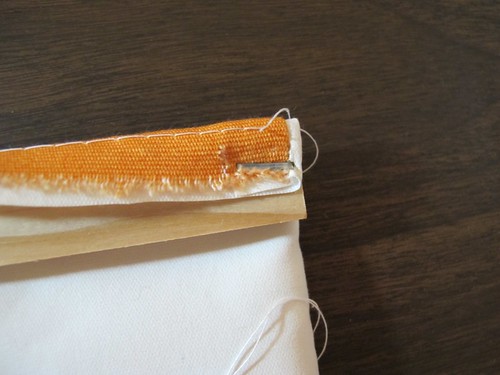
Then fold your fabric over the wood molding to the back, using a staple gun (make sure you use the shortest staples your staple gun would take, in my case that was 1/4 in staples. The first time I did this I stapled my valence to the table.) attache the fabric to the wood. This will be covered by velcro lately, so it doesn't need to be pretty, just secure.
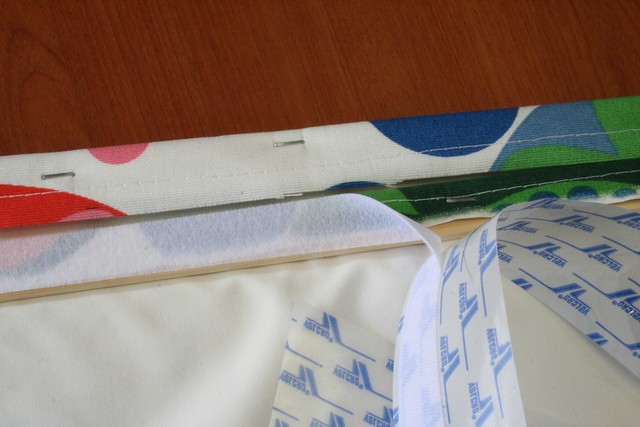
Next, I attached adhesive clear velcro (who knew they made clear velcro!) to the back of my wood brace and to the wall over my windows. Using clear velcro will make it easier when I eventually move offices to leave behind.
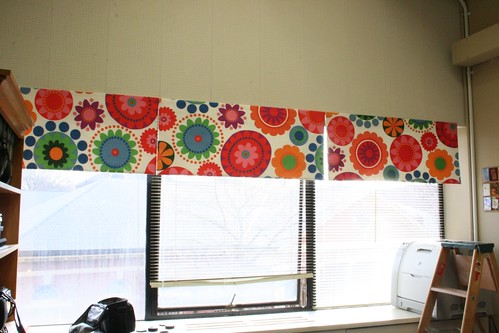
Finally I was able to hang my finished curtains! I was a bit short on the end sides, but hopefully its not too noticeable. Overall, it has improved the industrial chic of my office and brightened my area considerably!

No comments:
Post a Comment