Materials:
- 1 (white) hooded sweatshirt
- 1 (white) pair of sweatpants (I purchased mine online from hanes.com)
- 1 (white) pair of gloves
- 1 yd of green felt
- 1/4 yd of shiny silver material (or use gray felt
- 3/4 yd of purple felt
- 1 yd of white felt
- 1/2 yd of black felt
- Square of yellow felt
- Square of red felt
- Square of blue felt
- Thread to match all of your felt (white, green, yellow, black, red, & blue)
- Foam core board
- Purple and Red ductape
- Sticky backed Velcro
- Polyfill (stuffing)
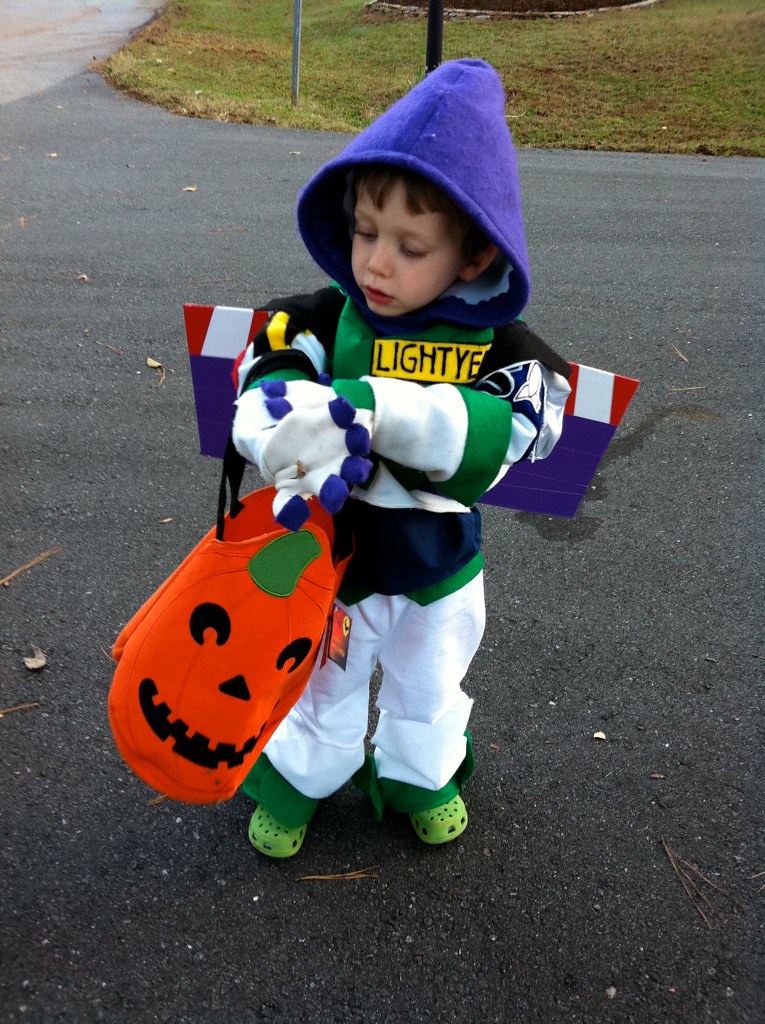
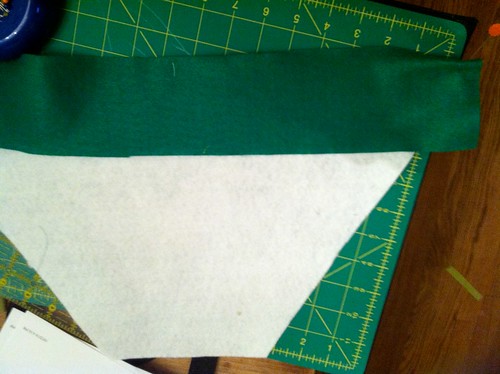
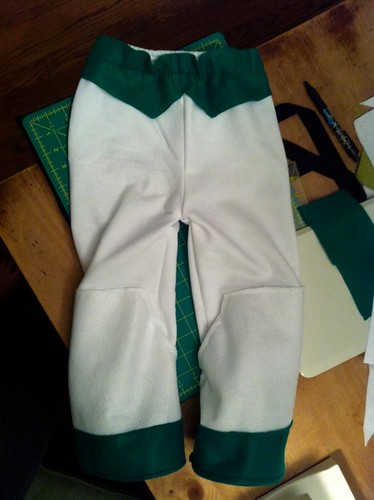
The pants were the easiest part of the costume. I wanted to add "spat-like" parts to the bottom, kind of like adding a bell bottom with green on the edge. I also added a belt of the green at the top of the pants. I cut a trapezoid shape that was approximately twice the circumference of the existing pant bottom. The top of the trapezoid is the front of the pant width at the knee. The height of the trapezoid is from the knee of the pant to approximately 3 inches past the pant bottom. You want these "spats" to cover the tops of your child's shoes.
I then added a 3 in wide strip of green felt to the bottom of the trapezoid.
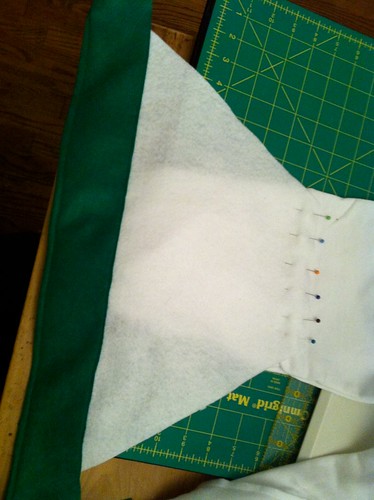
I then positioned the top of the trapezoid where I wanted it to be on the pant.
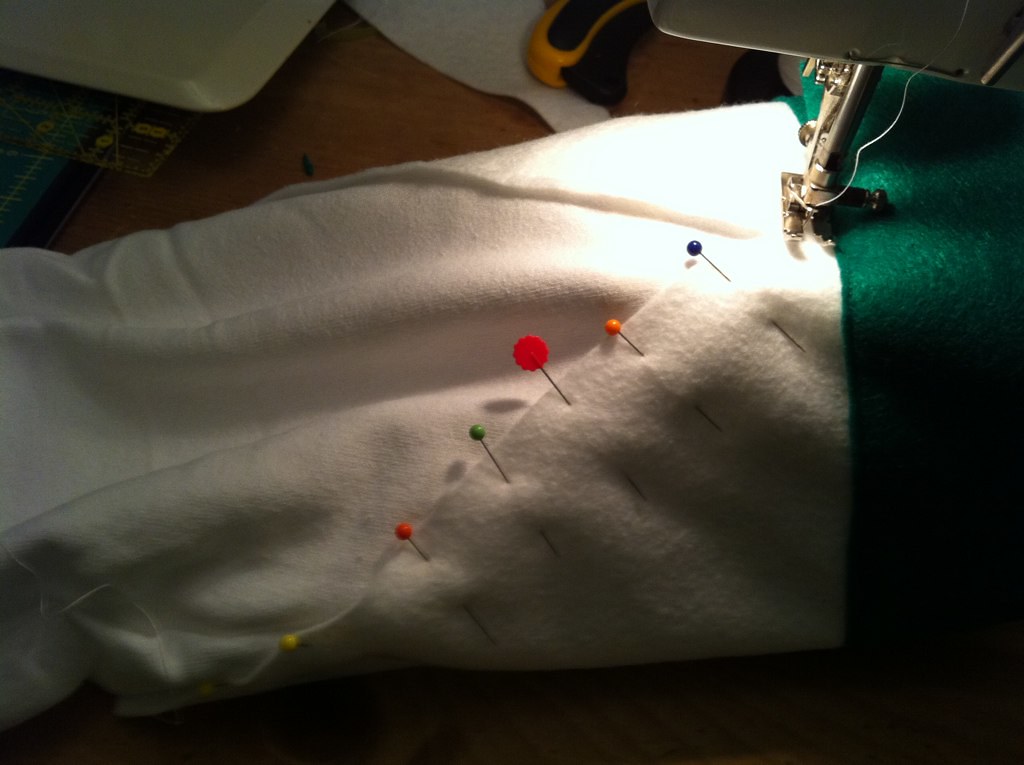
I then top-stitched the "spat" to the pants. The great thing about felt and matching thread is that I didn't worry about hiding my seams.
Then I pulled the "wings" of the "spat" (way too many quote marks - sorry) around to the back of the pant and sewed those down as well. Sew only the white down on the back of the pant (the sides of the trapezoid, so that the "bell" of the spat can cover the shoe.
Since the sweatpants have an elastic waist band, sewing down the belt will create a few bunches. I waited until after I added the belt to cut the front section out so that it would be centered.
And Yeah! Pants done! Let's move onto the top, which will be in my next post!

No comments:
Post a Comment