Sunday, March 27, 2011

Dog Bed from One Yard Wonders

I received the One-Yard Wonders Book for Christmas this year. I love the project ideas, but feel that the instructions are somewhat lacking. Luckily, Pink Chalk Fabrics is conducting a sew-along and provides not only extra help, but much needed photography of the process.

I decided to go ahead and tackle the dog bed, because 1) well I have a dog that needs a bed and 2) I have this great fabric from IKEA that I've been dying to make something with - see WIN-WIN (or should I say #winning!)

I decided to vary the pattern a bit by adding a zipper and I added the optional cording/welting. I love the way the cording looks, but that was one of the hardest and must frustrating things I have sewed in awhile. I decided to buy commercial cording/welting, but adding it was more difficult than I had thought. I ripped a lot of seams.....


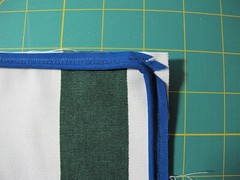
When you add the cording, make sure you clip the corners appropriately.
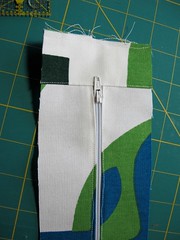
This was one of the first zippers I have every sewn, and it worked out OK.
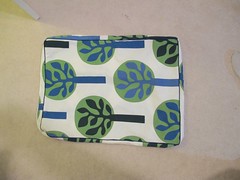
Overall, I'm happy with how the dog bed turned out. I also sprayed a shoe waterproofing silcone based compound to help protect the fabric.


I think the only thing I would change now is the fact that white fabric +  dark brown dog hair =always dirty looking!

Monday, January 31, 2011

Semi-permanent Office Curtains

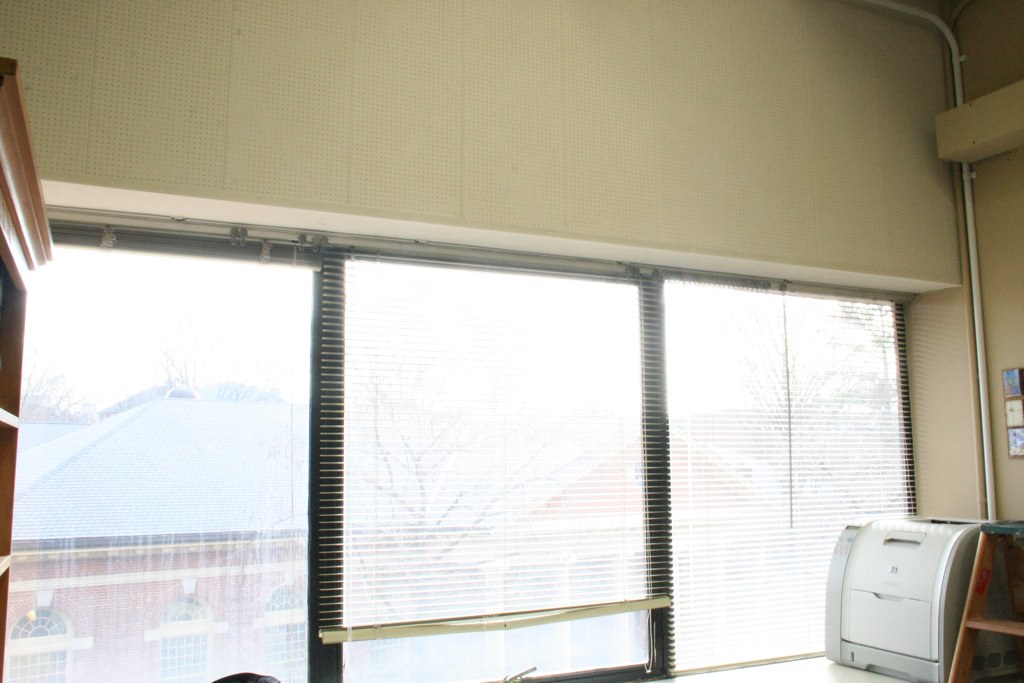
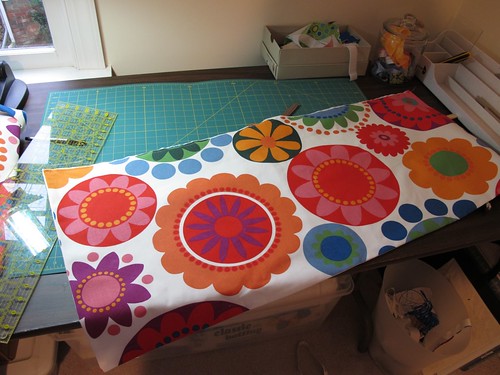
A few years ago I finally made the transition to an office with windows, and in my building that is a rarity. I have started to spruce up my little corner of the world and recently decided to make some curtains for the office. I feel in love with some fabric at IKEA (yes IKEA has home dec fabric, but only in-store), that would make a cheery addition to my office.  Here is the before:

Supplies:
  • Home Dec Fabric. I needed 2 yards
  • Curtain lining (I used Roc-lon fabric which has some black-out features)
  • Thread
  • Wood Molding
  • Staple Gun with 1/4in staples
  • Sticky-back Velcro
  • Hacksaw
  • Squeeze clamp

I measured the entire width of my window, but decided to make three separate panels. Each of them I back with curtain lining fabric. I like the way a lined curtain looks rather than just sewing under the ends. I'm glad I made that decision, because this fabric was fraying badly. I sewed down three sides, the bottom and sides of the valence and left the top open. I used a 1/2 in seam and clipped my corners. I did sew a basting stitch (the longest stitch setting on my machine) across the top, just to keep everything together.


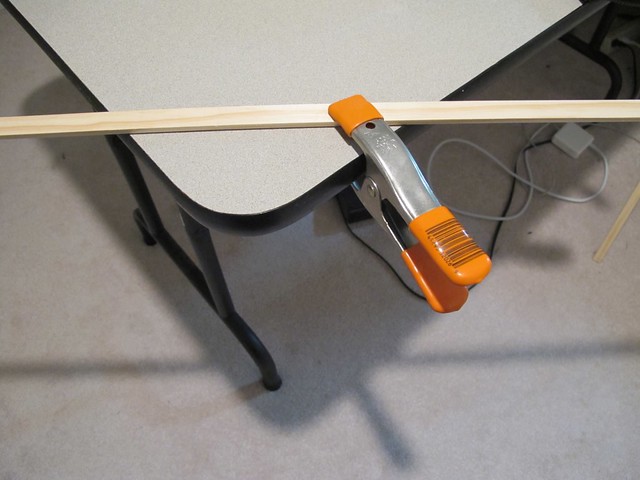
 I made a makeshift work bench on the corner of my sewing table by clamping my wood molding down.

I cut my molding into three equal pieces (to match each valence), rather than having one large wood piece. This makes it easier to transport, and in the end didn't have any effect on the finished project either way. Remember to measure twice cut once! (That is the shop teacher in me :)


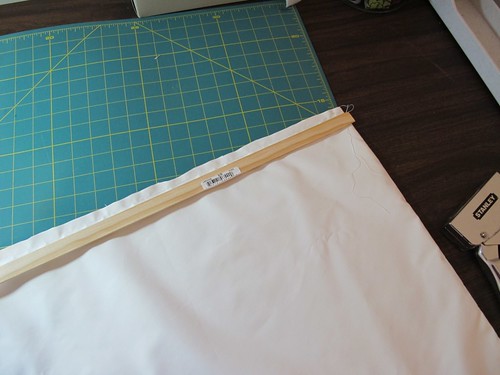
Then I measured from the bottom of the valence up to the desired height and placed the wood molding as a brace. I measure from the bottom so that even if something occurred in the cutting/sewing process I would have an accurate height and could wrap the excess on the back of the brace.

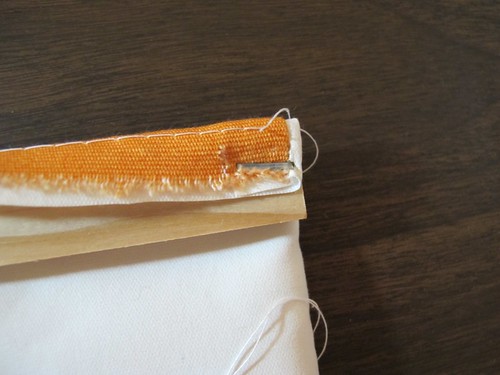
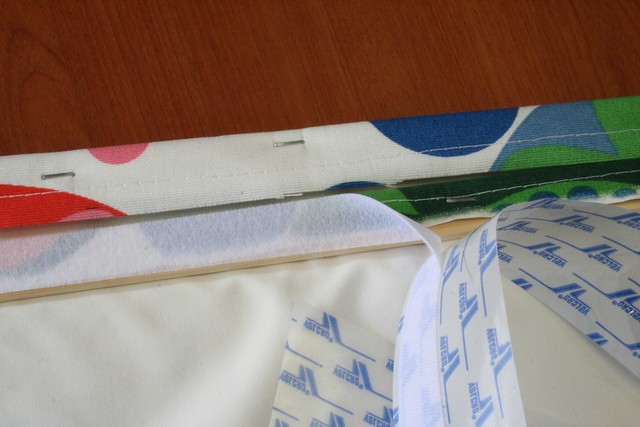
Then fold your fabric over the wood molding to the back, using a staple gun (make sure you use the shortest staples your staple gun would take, in my case that was 1/4 in staples. The first time I did this I stapled my valence to the table.) attache the fabric to the wood. This will be covered by velcro lately, so it doesn't need to be pretty, just secure.


Next, I attached adhesive clear velcro (who knew they made clear velcro!) to the back of my wood brace and to the wall over my windows. Using clear velcro will make it easier when I eventually move offices to leave behind.

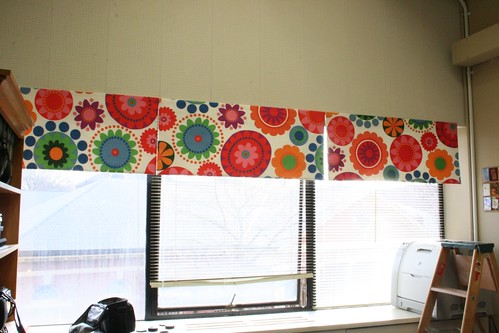
Finally I was able to hang my finished curtains! I was a bit short on the end sides, but hopefully its not too noticeable. Overall, it has improved the industrial chic of my office and brightened my area considerably!

Thursday, January 20, 2011

New Year, New Quilt Room

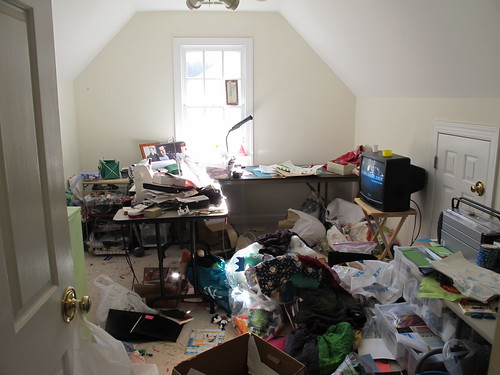
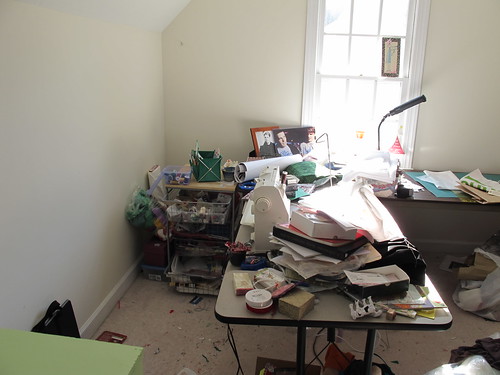
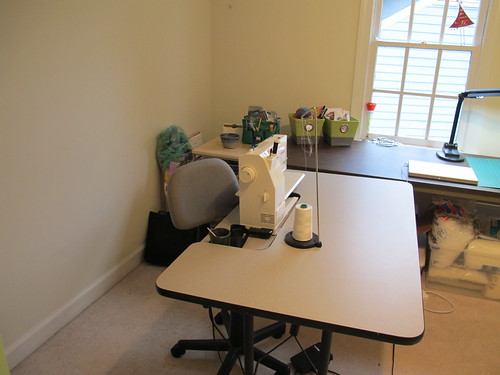
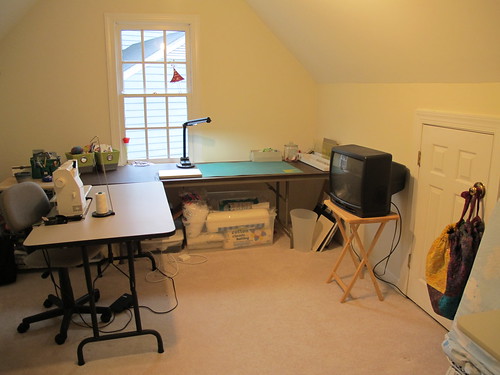
I am a messy person, well let me qualify that, I'm not dirty, I just have too much stuff. I watch shows like Clean Sweep and dream of Peter coming to my house and organizing everything. But since that will never happen, I decided to "clean sweep" my own house. One the first rooms on my list was my sewing room. I haven't been able to really work in there for over a year. It has become the dumping ground for everything "Bethany" related (whether sewing related or not), and it just needed to be dealt with. So here are my before pictures. Actually, they are technically my half way through pictures, so there is a good deal more on the ground from my closet.

The first step was to get rid of all the things I didn't need, would never make, or fabric I would never sew with. Since I was pleased to find out that Goodwill would indeed take craft supplies, I didn't feel so bad about getting rid of good supplies, they just weren't me anymore. I have my craft room divided into two sections, the main one is for sewing, but I do have a corner dedicated to scrapbooking. The biggest change was to move out the dumping ground that was the bottom of my closet (sorry no before pictures of that) and put the scrapbooking paper and supply organizers in the closet. I need to purchase some more of the 2 quart plastic tubs for my fabric, but so far it is looking a good deal better. The fabric is organized either by color or theme.


It is not perfect, and I struggle with how to store all of the many mementos a small child creates to scrapbook with later. I recently bought some archival large flat boxes that I hope will help. After a visit to our trust hardware store down the street, I was also able to buy some shelving and baskets to help with the organizing of the area above the table. I had never really put up shelves or really anything on the wall because I always intended on painting, but it was either paint now or get on with the organizing, so I just got on with it.


I want to buy some desktop organizers, but a friend of mine mentioned that I should do a bit of scrapbooking and see what supplies I readily use and need at hand to discover what organization would be helpful.

The other section I needed to work on was my bookcase. This is an old bookcase I got off of Craigslist about 8 years ago for $10 and repainted green. Its not too pretty, but is functional and the right height. I went through and got rid of a lot of books, both crafty and non-crafty related. I moved some of my pictures from my cutting table to the bookcase (and yes they are of Matt Damon, it is an inside joke that my brother and I have and he buys them for me :) - and if Matt Damon is reading this, you are on my list and I am available to run away with you at any time) I worry that is is already too cluttered, so I've got my idea on another bookcase to add to the room. I also added another shelf with baskets where I can now keep my knitting and stationary.

Lastly, but definitely not least was my actual sewing and quilt area. I'd love a proper sewing table, but my old computer table has worked well for me the past 10 years. I have a large 6 ft churh table my mother-in-law gave me when she redid her sewing room. It is the perfect cutting area, and although I want to raise the height of the table (to save my back), having it the same level of my sewing table is very helpful when quilting large quilts and supports them. I organized the wired drawers to be full of my current projects, interfacing, and notions. I recently got a thread organizer, that is not pictured here. I also purchased the largest plastic tub I could find and am using the space under my cutting area to house batting and pillow forms.
All in all I'm really happy with how it has turned out, and I know I'm not done yet. I want to add more shelving, possibly incorporate another bookcase where my TV stand is now, and I still need a design wall, but overall it is a much more usable and functional room. I'm excited to sew again!

Thursday, January 13, 2011

Canning for the Holidays!

So a few years ago, I got into canning. It started with my mother in law's pickles (mmmmm) and just went from there. At some point, I got the brilliant idea that, if I canned throughout the year when I had the time, I'd be all done by the time Christmas rolled around and wouldn't have to bother with baking or anything.. I'd just give away canned goods as gifts.

Not so much.. now I can AND bake, because certain people have made it very clear that they look forward to different cookies that I make (and it's not just one thing, everyone likes something different), and that discontinuing my baking is not an option!

So anyhoo, I do still like to can, so some lucky ducks get a little of everything! And since they're gifts, they have to look nice, right? I have seen some beautiful canning labels out there, and I took some inspiration from a few and came up with my own.

First, I printed off the name of the product and cut into strips:

I also cut out some 2 inch wide strips of scrapbook paper in various coordinating patterns:

I took the 2 inch wide strips of scrapbook paper, and laid them side by side. I then glued the back of the white paper, and overlapped each of the patterned strips to hold the whole thing together:

... then I used my 2.5 inch circle punch to punch the whole shebang into a nice neat circle:

Finally, just lay it on top of the sealed lid, and place the screw-on lid over top of that.. voila!

Tuesday, January 11, 2011

I dream of quilting

I'm one of those people that agonizes over their day when they try to go to sleep. I pick apart what went wrong and try to run through what I need to do the next day. I have a hard time getting my brain to shut down. Typically I read a familiar book and try and drift off to sleep. The other night I found myself unable to sleep and I tried all my usual meditation tricks and relaxation techniques, but I just couldn't fall asleep. Then, I started to think about this quilts I've been wanting to finish (from the Glam Garden Gala contest) and how I would quilt it. Would I do some straight line quilting? or this organic straight line quilting I've been reading about? I found myself peaceful and drifting off to sleep.  If that doesn't tell you where my "happy place" is and how I need this to balance my life I don't know what does.  All I know is that this weekend, a quilt will be quilted.

Thursday, December 9, 2010

Buzz Lightyear

I realize how late I am in posting this tutorial, but hopefully it will be useful for next year's Halloween! My son is obsessed with all things Toy Story, and most of all with Buzz Lightyear. The base of this costume is a white hooded sweatshirt and white sweatpants. I love working with sweatshirt material and felt for costumes, the biggest drawback is bulkiness. I almost wish I had used a sweat suit in a size smaller so it would fit better. But on to the tutorial!

Materials:
  • 1 (white) hooded sweatshirt
  • 1 (white) pair of sweatpants (I purchased mine online from hanes.com)
  • 1 (white) pair of gloves
  • 1 yd of green felt
  • 1/4 yd of shiny silver material (or use gray felt
  • 3/4 yd of purple felt
  • 1 yd of white felt
  • 1/2 yd of black felt
  • Square of yellow felt
  • Square of red felt
  • Square of blue felt
  • Thread to match all of your felt (white, green, yellow, black, red, & blue)
  • Foam core board
  • Purple and Red ductape
  • Sticky backed Velcro
  • Polyfill (stuffing)
Pants

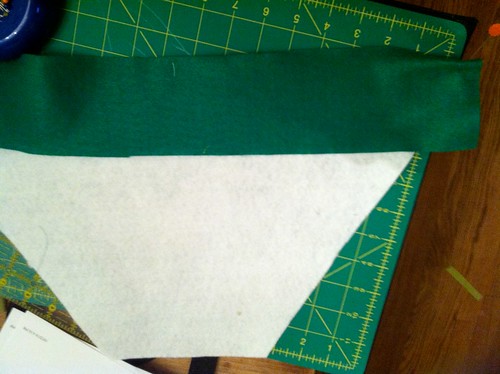
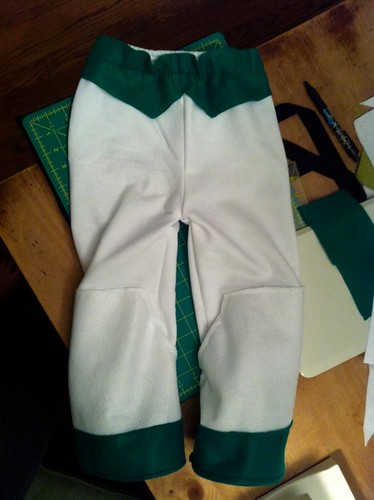
The pants were the easiest part of the costume. I wanted to add "spat-like" parts to the bottom, kind of like adding a bell bottom with green on the edge. I also added a belt of the green at the top of the pants. I cut a trapezoid shape that was approximately twice the circumference of the existing pant bottom. The top of the trapezoid is the front of the pant width at the knee. The height of the trapezoid is from the knee of the pant to approximately 3 inches past the pant bottom. You want these "spats" to cover the tops of your child's shoes.

I then added a 3 in wide strip of green felt to the bottom of the  trapezoid.


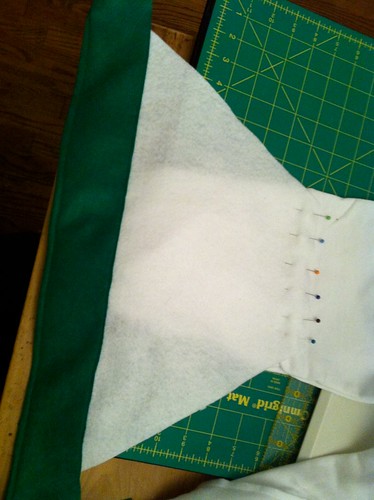
I then positioned the top of the trapezoid where I wanted it to be on the pant.

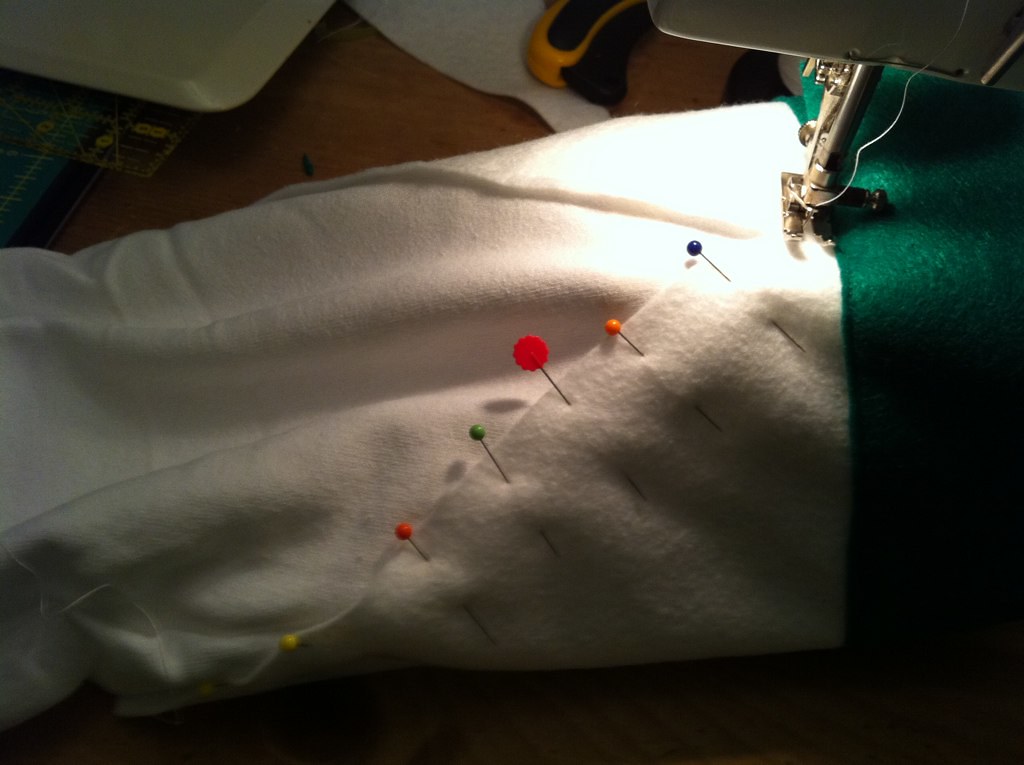
I then top-stitched the "spat" to the pants. The great thing about felt and matching thread is that I didn't worry about hiding my seams.

Then I pulled the "wings" of the "spat" (way too many quote marks - sorry) around to the back of the pant and sewed those down as well. Sew only the white down on the back of the pant (the sides of the trapezoid, so that the "bell" of the spat can cover the shoe.
I then added a 4 in wide belt for the pants.
 
Since the sweatpants have an elastic waist band, sewing down the belt will create a few bunches. I waited until after I added the belt to cut the front section out so that it would be centered.

And Yeah! Pants done! Let's move onto the top, which will be in my next post!

Sunday, November 28, 2010

Halloween Costumes

One of the fondest memories I have about Halloween as a child is working with my mother on making my costume. We would keep all of them and use my old costumes for dress-up throughout the year. Since my son was born I have been wanting to keep with this tradition and for the past two years I have been able to actually do it. Last year my son was Nemo from Finding Nemo. I'm not the best with clothing, so I used an orange sweatshirt as a base and felt for the embellishments.  Have you ever worked with felt before???  After all my years with cotton and quilting it was a dream to work with felt, it was so easy to work with.  I was really happy with my result, and so was Evan - he slept in it for a couple nights :) This year I submitted it to Ohdeeho as part of their Halloween roundup, and was listed on their site! I didn't really take pictures of my process, so for this year, Evan was Buzz Lightyear, I have a tutorial I will be posting about next!